
Menus and settings
Navigating the menus
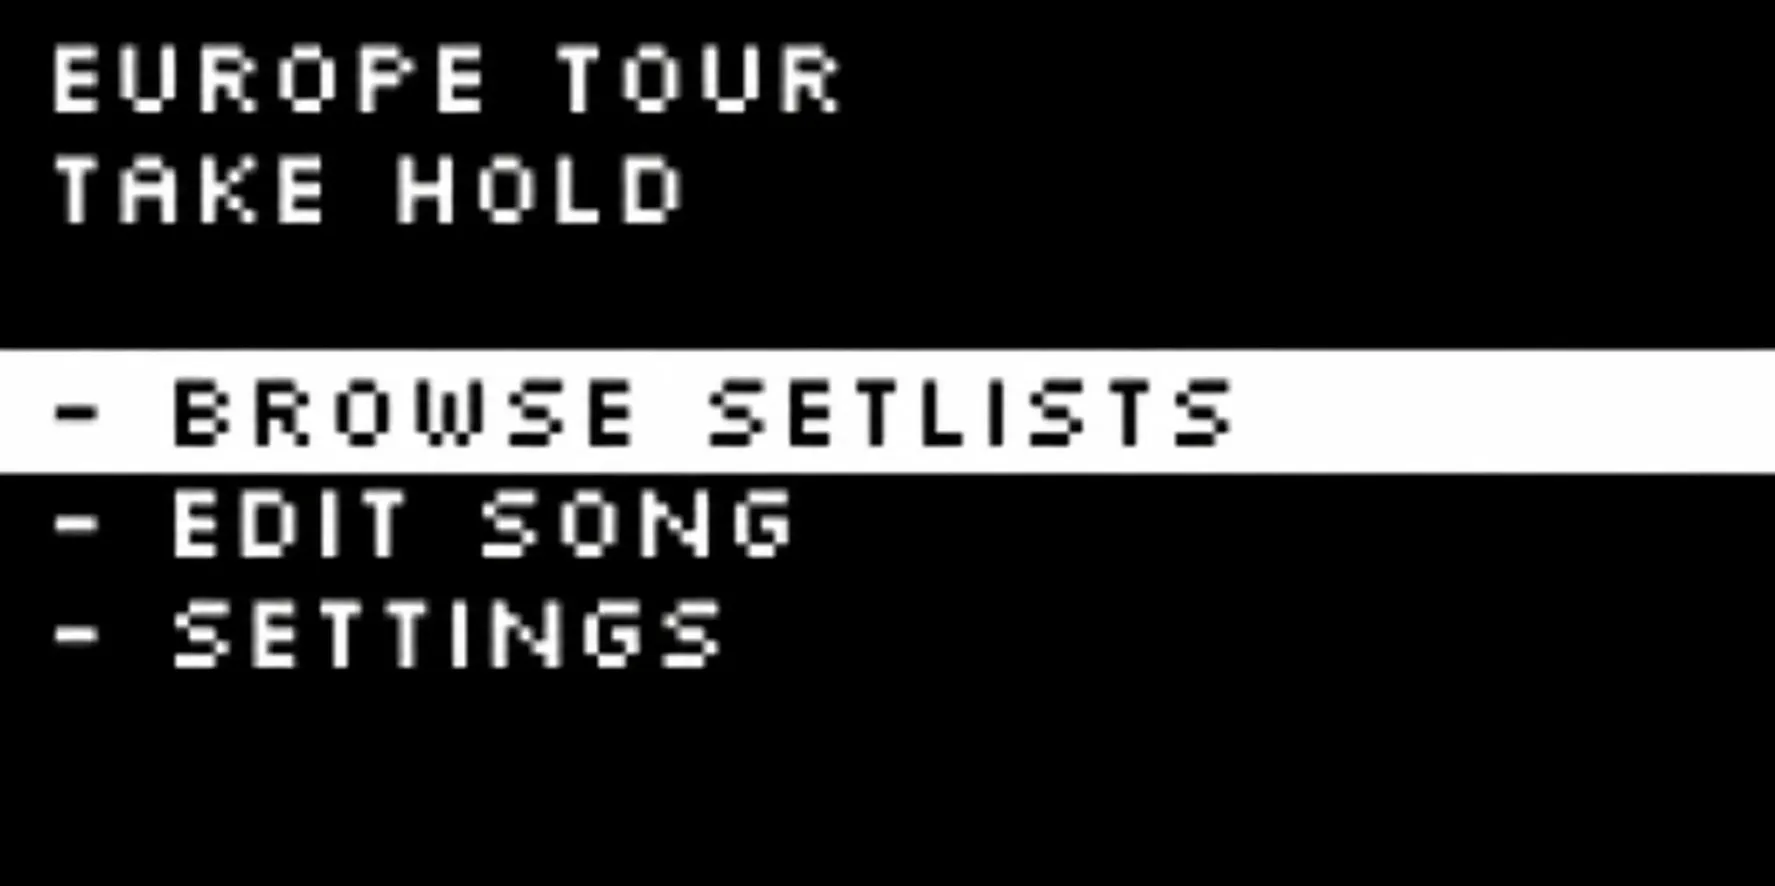
Section titled “Navigating the menus”Press the left encoder while the P-1 is stopped to open the main menu. The current setlist and song appear at the top of the screen. Turn the encoder to move the selector and press it to choose an option. Press EXIT to go back or return to the player screen.
Browse setlists
Section titled “Browse setlists”Selecting Browse Setlists opens the setlists available on the SD card. Turn the left encoder to choose a setlist and press it to load it.
The P-1 supports up to 10 setlists on one SD card. When the list spans multiple pages, dots at the right of the display show the available pages and current position.
Edit song
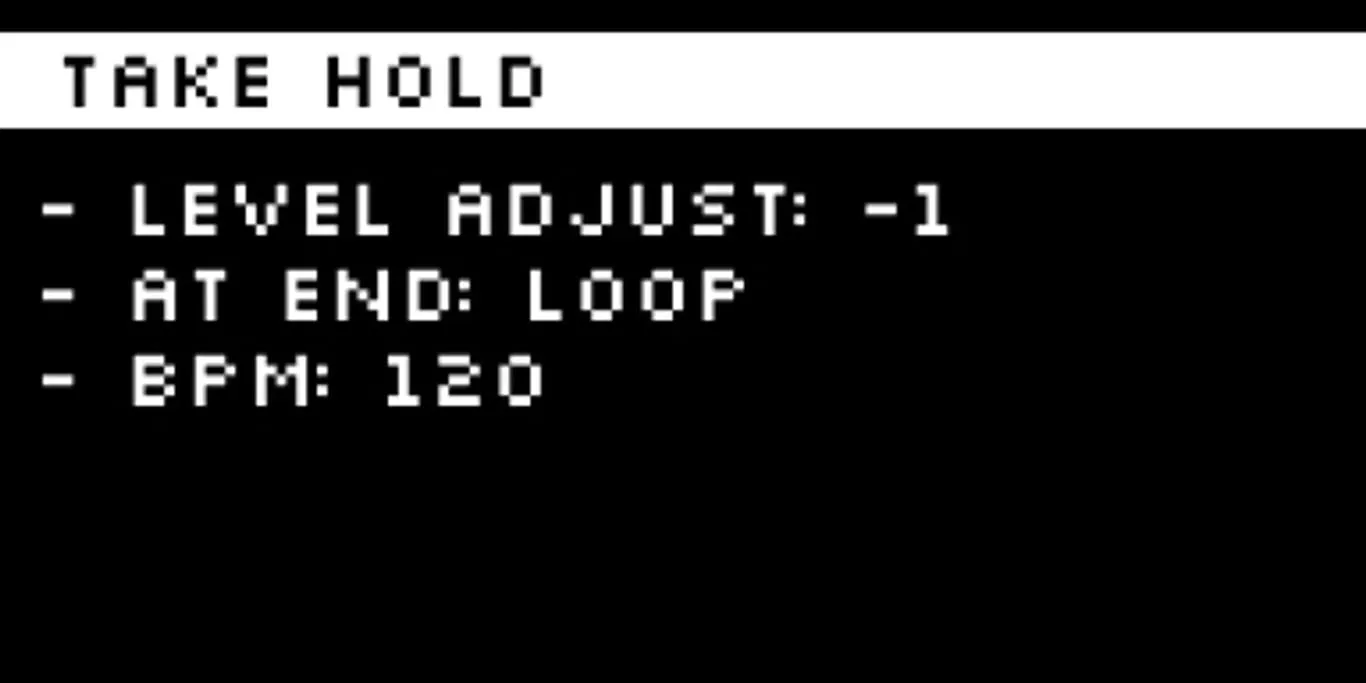
Section titled “Edit song”You can change the following settings for the currently selected song:
Level adjust
Section titled “Level adjust”Level Adjust changes all output levels for this song relative to the setlist levels. For example, if outputs are set to 95 and Song Adjust is -2, the outputs will play at 93 for this song.
At end
Section titled “At end”Choose what happens when the song finishes:
- Queue next queues the next song. Press PLAY when you are ready to start it.
- Play next starts the next song automatically.
- Loop starts the current song again.
- Stop stops at the end of the current song without changing the selection.
Cueing the next loop
Section titled “Cueing the next loop”While a song is looping, select another song to make it start when the current loop finishes. In Control Mode B, pressing BACK instead queues the current song to stop when its next loop finishes.
This BPM setting controls the visual metronome. When Send MIDI Clock is enabled, it also sets the outgoing MIDI Clock tempo for songs without a MIDI file. For songs that include a MIDI file, the setting is used before playback starts; during playback, the P-1 follows the tempo data in the MIDI file.
The BPM setting does not time-stretch audio or change MIDI-file playback speed. Firmware v3.27 can display BPM values up to 999.
Settings
Section titled “Settings”Global settings are retained when the P-1 is switched off. Firmware v3.27 groups them into the following sections.
Control system
Section titled “Control system”Changes how the previous, next, pause, play and stop controls behave. See Control mode.
Metronome flash
Section titled “Metronome flash”Turns the visual metronome on or off. When enabled, the PLAY button flashes at the song BPM.
Time counter
Section titled “Time counter”Choose Elapsed to count up from the start of the song or Remaining to count down to the end.
MIDI settings
Section titled “MIDI settings”- MIDI In Channel chooses the channel used for MIDI remote control. The default is channel 15.
- Send MIDI Clock sends clock and Start, Stop and Continue transport messages. Audio-only songs use the song BPM.
- Receive MIDI Clock allows incoming Start, Stop and Continue messages to control the P-1.
- MIDI Thru passes incoming MIDI to the MIDI output. When MIDI Thru is enabled, the P-1 does not play its own MIDI files.
- P1 Sync selects OFF, LEADER or FOLLOWER mode. See P1 Sync.
Display settings
Section titled “Display settings”Screen contrast adjusts the contrast of the display.
Screen brightness adjusts the display backlight.
AUX settings
Section titled “AUX settings”- AUX INPUT selects Balanced or Unbalanced input. Use Unbalanced for an unbalanced or stereo 3.5mm source. The AUX input is mono, so connecting a stereo source does not provide stereo input.
- AUX GAIN adds up to +18 dB of digital gain for quieter sources.
Player-screen feedback
Section titled “Player-screen feedback”Firmware v3.27 adds VU indicators for the outputs and AUX signal, a MIDI activity indicator, a small MIDI marker beside songs containing MIDI, and clearer warnings for invalid WAV files or session data.