
The Song Edit View
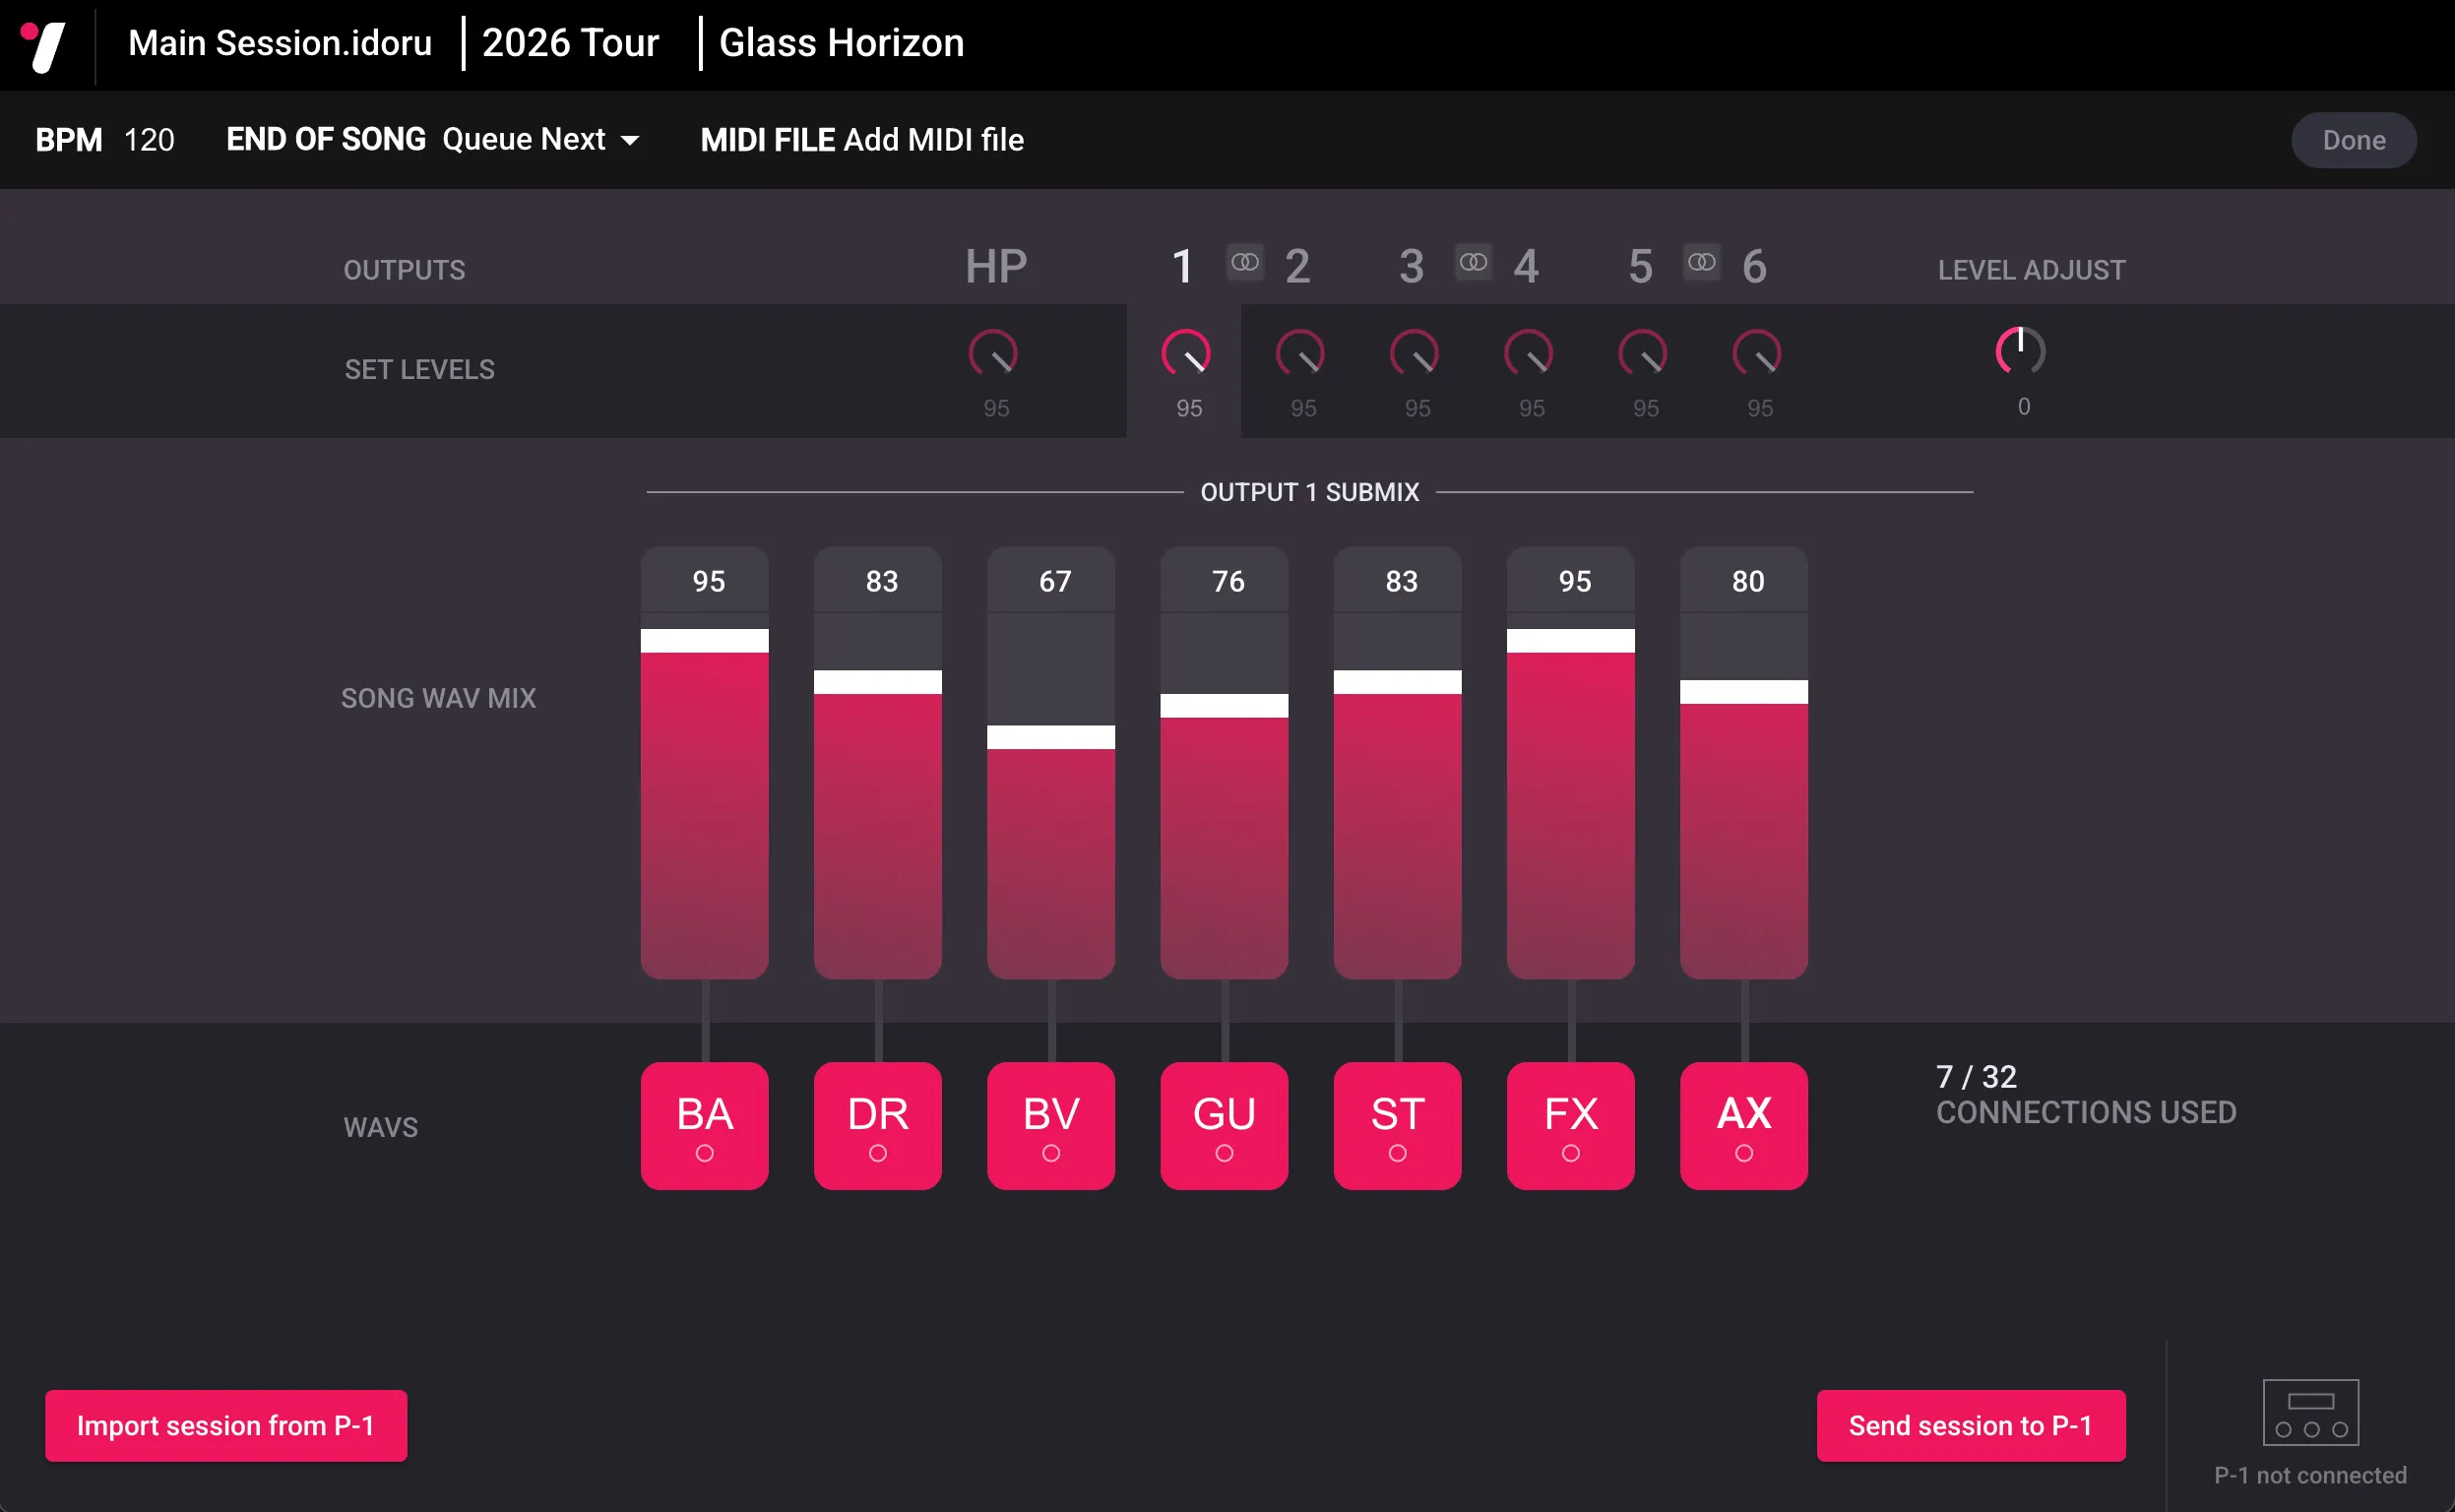
The Song Edit view is where you add the WAV files and MIDI file for a song, route them to outputs and set the submix fader levels for each output. From this screen you can also adjust the overall levels of the outputs for the setlist.
Monitoring and previewing songs - Work in progress…
Section titled “Monitoring and previewing songs - Work in progress…”Outputs section
Section titled “Outputs section”This is where you can set the levels of the 6 outputs and the headphones output for the setlist. At 100 the output is at 0dB (no attenuation). At 0 the output is at -100dB attenuation. The knobs default to 95 (-5dB) to allow room to turn up outputs where needed. Any adjustments to these knobs affect the whole setlist.
Adjust the level of an output
Section titled “Adjust the level of an output”Click and drag on an output knob, or click on the number and enter the desired value.
Select an output and view its submix mixer
Section titled “Select an output and view its submix mixer”Click on an output number or knob to select that output and view its source mixer for the current song. Here you can choose what is routed to the output and adjust its submix.
Output submix section
Section titled “Output submix section”This is the currently selected output’s submix of WAV files and aux input for the song. There is a fader for each WAV file, plus one for the aux input, allowing you to adjust the levels running to the output. The fader values represent a percentage of the sound source’s signal. At 100 the sound source is played at full signal. At 0 there is no signal. The faders default to 95% of the source signal, to allow room to turn up channels where needed.
Adjust the level of a sound source to selected output
Section titled “Adjust the level of a sound source to selected output”Click and drag the fader, or click on the number at the top of the fader and type the desired value.
Mute / unmute a sound source to the selected output
Section titled “Mute / unmute a sound source to the selected output”Click once on an active (lit up red) sound source square below a fader to mute it. Click once on a muted (greyed out) sound source to unmute it. Note that this only mutes/unmutes it for the currently selected output’s submix.
Sound source section
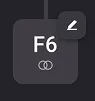
Section titled “Sound source section”The section at the bottom of the screen contains 6 WAV sound sources where you can add the WAV files you want to use in the song, plus the aux input. The 2 characters indicate the name of the sound source; these will also be displayed on the P-1 mixer. The icon indicates whether the loaded file is mono or stereo. Hovering over a WAV sound source reveals the loaded WAV file’s path.
Add a WAV file or edit the channel name
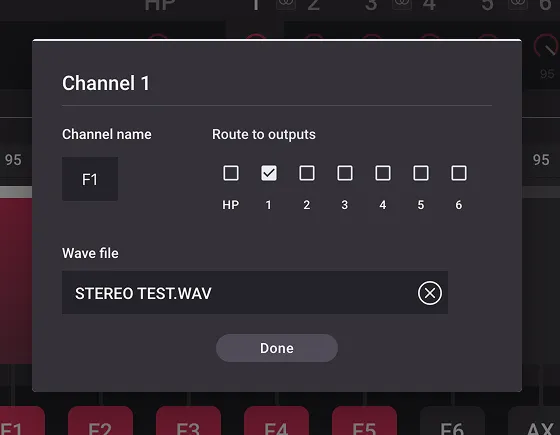
Section titled “Add a WAV file or edit the channel name”Drag a WAV file onto a sound source to add or replace it, or drag multiple WAV files to fill several sound sources at once. You can also click an empty sound source to add a file. To edit a sound source that already contains a file, double-click or right-click it, or hover over it and click the edit button.
The channel edit panel lets you change the channel name, load a WAV file and configure its routing without switching between output mixers.
Level adjust
Section titled “Level adjust”This control lets you make an adjustment to all the output levels just for this song. So for instance, if the song is a bit louder than others in the setlist, you can turn this knob down to -2 and it will reduce all of the outputs by -2dB just for this particular song. Note that this is relative to each output’s current level. So if an output is at 95 and you set Song Adjust to -2, then the output will be at 93 (-7dB) for this song.
Connections remaining
Section titled “Connections remaining”This shows how many connections you have available. You may have up to 32 connections between sound sources and outputs active at once. Read more about connections here.
This sets the BPM for the song’s visual metronome and MIDI clock, if a MIDI file is not present. If the metronome flash is enabled, the play button will flash at the chosen BPM, before and during playback. If a MIDI file is loaded for the song, the P-1 will use the BPM value set here before the song starts, then switch to taking the BPM from the MIDI file tempo during playback. Note that the BPM setting on the P-1 does not affect the playback speed of the tracks. The P-1 is not capable of time-stretching audio.
At end of song
Section titled “At end of song”This setting defines the behaviour that happens when the song finishes. You have four options:
Queue next - Queues the next song in the setlist when the current one finishes. Press PLAY to start it.
Play next - This will automatically begin playback of the next song.
Loop - This will start playback of the current song again. The song continues to loop until you manually stop it or play another song.
Stop - Stops when the current song finishes without changing the selected song.
MIDI file
Section titled “MIDI file”Click here to choose a MIDI file to play during the song. You can load any Type 0 .mid file, with up to 16 channels, and it will be played through the MIDI output port on the P-1.
Click the done button when you are finished editing a song to return to the setlist view.