
The Setlist View
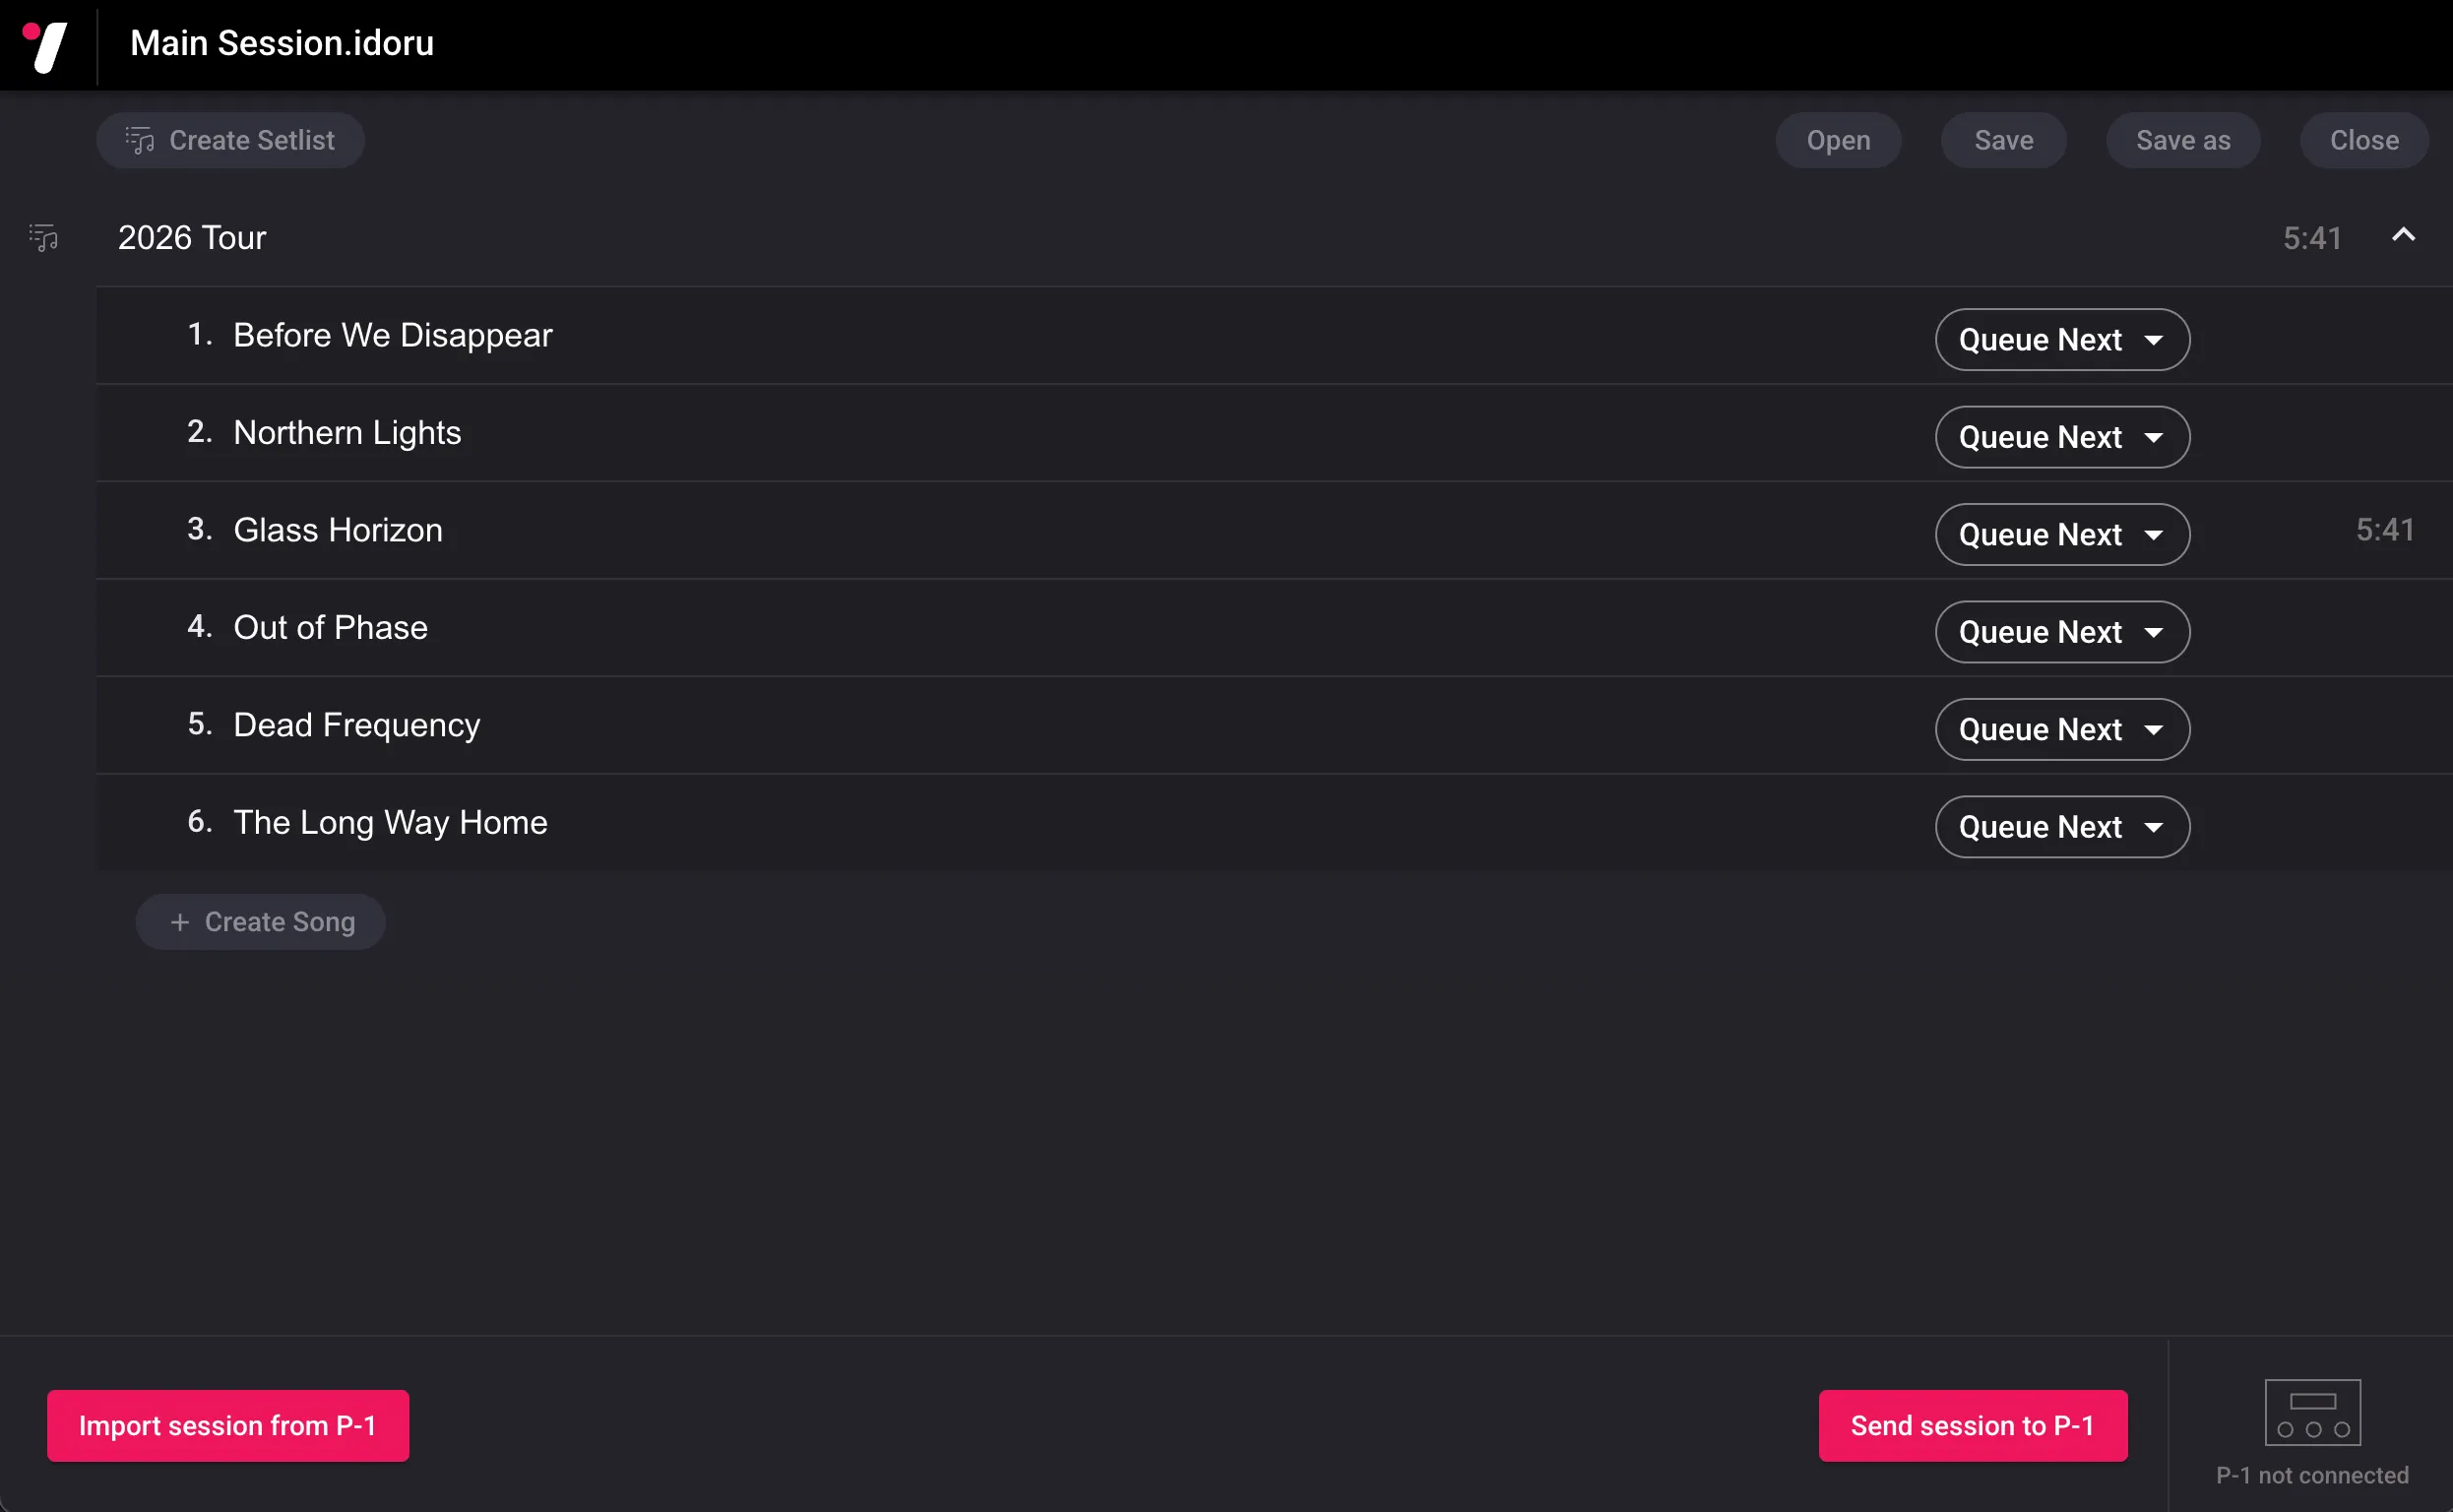
The setlist view is where you can create new songs and setlists. You can also save and load sessions, and export the session to your P-1 SD card when it is ready.
Setlists
Section titled “Setlists”Setlists appear as a row with the setlist name and the total duration of all the songs it contains. Clicking the chevron arrow on the right-hand side will expand or collapse the setlist’s songs.


Create a setlist
Section titled “Create a setlist”To create a setlist click on the ‘Create setlist’ button.
Delete a setlist
Section titled “Delete a setlist”Right-click on a setlist and select ‘Delete setlist’. Or hover over the setlist and click the delete button that appears.

Duplicate a setlist
Section titled “Duplicate a setlist”Right-click on a setlist and select ‘Duplicate setlist’.
Rename a setlist
Section titled “Rename a setlist”Right-click on a setlist and select ‘Rename setlist’. Or click on the name of the setlist. Setlist names can be a maximum of 32 characters.
Songs appear as a row with the song name and its duration.

Create a song
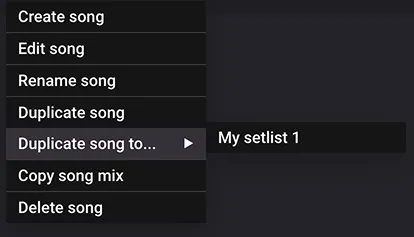
Section titled “Create a song”To create a song click on the ‘Create song’ button in the setlist you want to create it in. Or right-click on a setlist or song and select ‘Create song’.
Delete a song
Section titled “Delete a song”Right-click on a song and select ‘Delete song’. Or hover over the song and click the delete button that appears.
Duplicate a song
Section titled “Duplicate a song”Right-click on a song and select ‘Duplicate song’ to duplicate it in the same setlist. To copy it to another setlist, select ‘Duplicate song to…’ and choose the destination. The duplicate will be added to the end of the selected setlist.
Copy a song mix
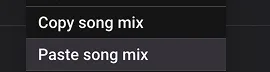
Section titled “Copy a song mix”To copy a song’s fader levels and channel routing, right-click on the source song and select ‘Copy song mix’. Right-click on the target song and select ‘Paste song mix’.
Rename a song
Section titled “Rename a song”Right-click on a song and select ‘Rename song’. Or click on the name of the song. Song names can be a maximum of 32 characters. Only the first 16 characters will be visible on the P-1 display.
Edit a song
Section titled “Edit a song”Right-click on a song and select ‘Edit song’. Or hover over the song and click the Edit button that appears.

Move a song
Section titled “Move a song”To re-arrange the order of songs in a setlist or move a song to another setlist, click and drag the song to where you want it, then release.
Change the end-of-song behaviour
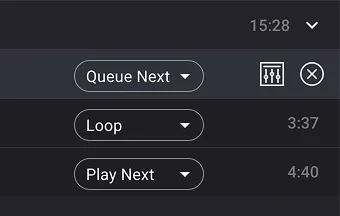
Section titled “Change the end-of-song behaviour”Use the menu on the right of a song to change its ‘At end of song’ setting without opening the Song Edit View.
Send session to P-1
Section titled “Send session to P-1”You can put an SD card in the P-1, and connect it to the computer via the P-1’s USB B port. The software will recognise the P-1 and show ‘P-1 connected’ in the bottom right of the screen. The P-1’s display will show ‘USB mass storage mode’ indicating it is now functioning as an SD card reader. Alternatively, you can put the SD card directly into the computer’s card reader, which may lead to faster copying speeds.
When your session is ready, click this button to export the session to your P-1’s SD card. A window will pop up where you can select the SD card’s location (either the P-1 or your card reader), or simply save the exported files somewhere else on your drive if desired. The software will export a file structure that is readable by the pedal, do not disconnect the SD card whilst it is copying files. You can read more about the P-1 files here.
If the P-1 is still displaying old setlists after copying, power off and on the pedal to get the setlists to refresh.
Import an exported session
Section titled “Import an exported session”Use Import from P-1 to open a session previously exported to an SD card or a folder on your computer. This is useful if you no longer have the original .idoru file or have made changes using the P-1.
- Make the exported files available by connecting the powered P-1 with its SD card inserted, inserting the card directly into your computer, or locating an exported backup folder on your computer.
- Click Import from P-1.
- Select the root of the SD card or the exported
listsfolder on your computer, then click Import session. - Once imported, you can edit the session, save it as an
.idorufile or send it to the P-1 again.
You can only import sessions that have been exported with v.2.0 or later of the Idoru software.
Click the ‘Load’ button to load a .idoru file you have previously saved on your computer.
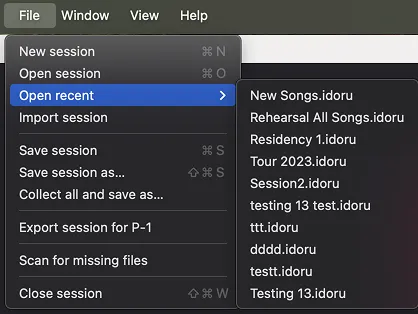
To reopen a recently used session, choose File > Open recent and select its .idoru file.
Click the ‘Save’ button to save the current session as a .idoru file on your computer. Note: Save the file to your computer and not to the SD card. Storing .idoru files on the SD card is not advised and may cause the P-1 to not be able to correctly read the files on the SD.
Save as
Section titled “Save as”Click the ‘Save as’ button to save the current session as a new .idoru file on your computer.
Click the ‘Close’ button to close the current session.